Home About Contact PR Fashion Life Beauty The List Product Directory

Friday, 29 November 2013

Makeup for a Night Out | Tips


Before I begin I'd like to say that this isn't a tutorial for how to achieve a night out look, but it is a set of tips to help make sure your makeup stays looking good all night. Having just completed my first year of university, I've been on my fair share of nights out, and it really tests your makeup. I'm sharing the things I've found useful for keeping my makeup on all night. Your makeup needs to withstand hot temperatures (from clubs), possibly liquid (possible crying/spilt drinks) and it needs to stay on the whole time which can range from 2 hours to 8+.

Primer
If you want your makeup to stay on for as long as possible, it's best to use a primer underneath your makeup. It will also help with makeup application as you have a smoother base to apply your makeup to. You may not know how long you are planning to stay out, so by using a primer you can ensure it will stay on for as long as you need it to. I don't tend to wear primer everyday as I find it's not needed, but when going out I always use it as I tend to wear more makeup and won't be able to touch it up throughout the day.

Powder
This is helpful for two reasons. Firstly it's great to increase the longevity of your makeup, and works well with primer in order to keep your makeup lasting all night. Secondly, it's important as it helps get rid of any shine you don't want (t-zone, chin, nose etc.). This is great for a night out as chances are you will get hot if you are inside a club and are more likely to be shiny. Setting your makeup with powder will make sure you avoid this.

Setting Spray
My number one tip is to use a setting spray. I love setting sprays and they are a staple in my everyday makeup bag, but they are doubly important when it comes to going out. They help your makeup stay intact, which helps it stay on longer. However, I find it also avoids eye makeup from smearing or blush fading which is great if you're wearing a very dramatic eye look that they want to stay intense and bold, and not fade. I've heard of quite a few people using hairspray to do the same thing, but I'm not sure if that's necessarily the best idea...

Gel Liner
I love to use eyeliner on my waterline, I love the effect it gives. However, I find kohl pencil often smudges and doesn't last long at all. If you do want to wear eyeliner in your waterline I suggest using a gel eyeliner. These will stay on for a long longer and are far less likely to smudge. They are also often darker and more intense so look better for nights out. You also won't need to bring your eyeliner out with you to touch up, which is better as you don't risk losing it.

Lipstick
Most people are going to wear lipstick, but my suggestion is the type you wear. I highly recommend the Revlon Just Bitten Kissable Lipstains for two reasons. Firstly, a stain is going to last far longer. If you are out chances are you going to be out for a long time and will probably have something (alcoholic or not) to drink. Most lipsticks will be gone within the first hour, a stain will not. As they are stains you also want get lipstick marks around glasses. Secondly, when you want to touch up these are far easier as it's a lot harder to get lipstick on your teeth or go outside your lips. They are also very light and easy to carry. If you do lose them (which can happen) they aren't too expensive, but if you lose your beloved YSL lipstick, that's a different story...

My final word of advice is not to carry makeup out with you for touch ups (except lipstick/lipgloss) which is why most of these products aim to prolong your makeup. It's very easy to loose makeup or drop it and when using expensive makeup, this is not at all ideal.

I hope this post was helpful, let me know if you use any of these things when going for a night out or have any tips of your own.


Saturday, 2 November 2013

My Top 5 | Brushes You Need to Own


Hey everyone,

I've already done a few posts of my Top 3/Top 5  favourite products (Blushes - here, Highlighters - here, Mascaras - here). I thought today I'd show you my favourite brushes which I use daily. I'm not so much concerned with the brand (for reference all of those pictured are Sigma apart from the blurring brush which is from Urban Decay) but the type of brush and why I think they can make a big difference to your makeup routine. I've also given a few options of where to buy these types of brushes, but there are tons of brands that stock all of these types of brushes.I haven't tried all of these by any means, I simply chose a range of brushes available on the market.

1. Tapered Blending
There's many different names for this, but this is your basic eyeshadow blending brush. If you don't have one of these in your eyeshadow routine, this single handedly can make a huge difference to your eyeshadow application. You will be able to blend the eyeshadows together so it looks more natural, blending the crease shadow into the lid eyeshadow. You can also use it to blend out any harsh lines you may have created by the edge of your eyes so the makeup seems more seamless.You can also use it for other things, because of it's small size you can use it to powder smaller areas, or to highlight things such as the bridge of your nose. I've also heard it being used for blending out your concealer too.

Options:


2. Angled Contour
I love this brush. The angle on it means that its perfect for contouring the cheeks. It makes it easy to get into the cheek bones and around the edges of the face. It is also perfect for precise blush application as you can easily apply it onto the cheeks and sweep it up to the cheek bones. I find this brush much easier to use than normal blush/bronzer brushes as I find them far more precise and better at distributing product. You can also use these to apply highlight to the top of the cheekbones too.

Options:


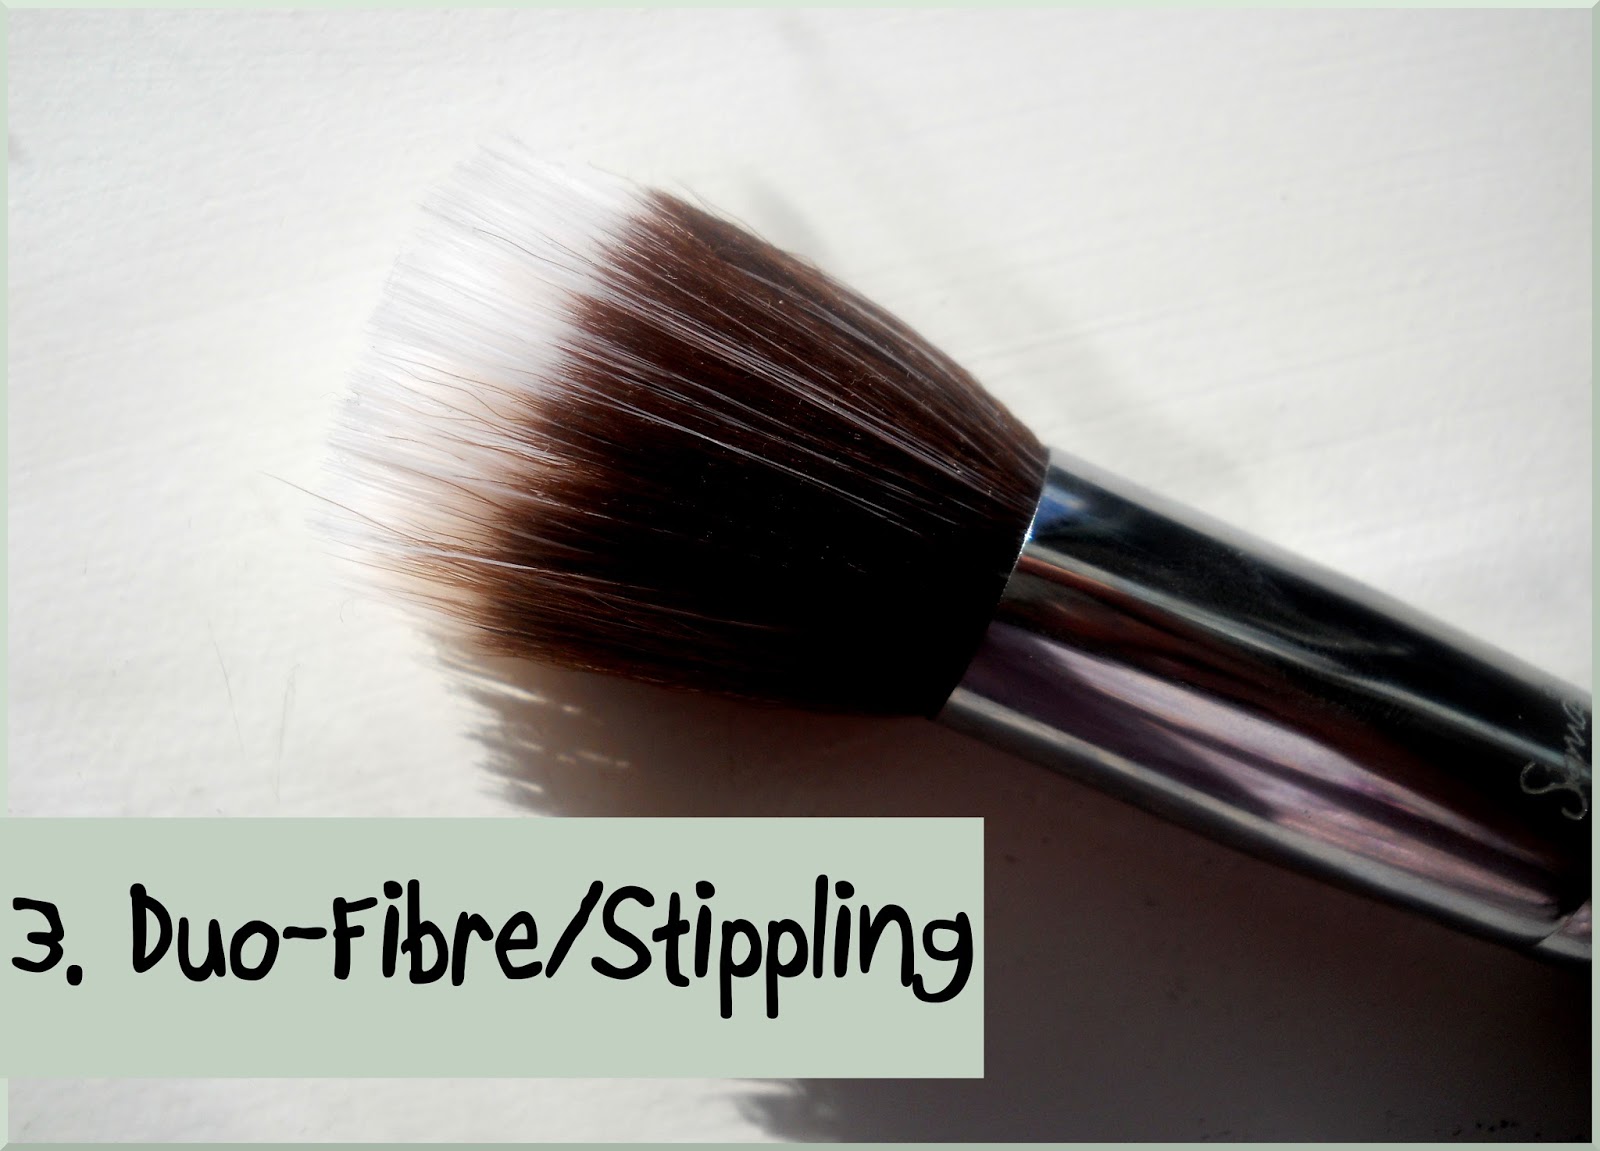
 3. Duo-Fibre/Stippling
 I remember when I first saw these brushes in actions I was amazed. I was so used to only using a flat foundation brush to apply my makeup and this blew everything I thought I knew out of the water. The idea of these brushe are that the bottom part is made from natural hair while the top is made from synthetic hair. You use these brushes in a stippling motion. You can use these brushes to stipple your foundation onto your face providing a different application. I also find this works very well for stippling blush onto your face. It's great for use with very pigmented blushes as it gives a lighter handed application. As the top of the brush is synthetic, these can be used with cream products too.

Options:


4. Optical Blurring / Buffing Brush
Now this is my favourite brush. There's lots of names for it, the most famous probably being the buffing brush. It's basically a very dense round brush which is great for both applying foundation and for blending it into the skin. I love this brush, I love it for when I want to do fuller coverage foundation as it's great for blending. I also love it for blending my bronzer and blush into my foundation so that it looks more subtle and less harsh. It's a very versatile brush that is a must-have in any collection.

Options:


5. Pencil Brush
Okay so this last brush is possible the least 'makeup life changing' brush out of the ones mentioned, but I love this brush for all of its different uses. My main use of this brush is to apply eyeshadow to either the inner corner of the eyes or just under the eyes for a smudgy effect. The precise tip allows you to have precise application of the eyeshadow to smaller areas. However, this brush can also be used for highlighting, I like it for highlighting the browbone and cupid's bow as it allows for more precise application than most highlighter brushes. It's also great for concealing too as it is much more precise than most concealer brushes.

Options:


So that's it for my must have brushes! I hope this post was helpful to you, let me know what your must have brushes are in the comments down below!